How to make a BBQ table? Let summer come now
Posted on July 20, 2017 • 2 min read • 381 words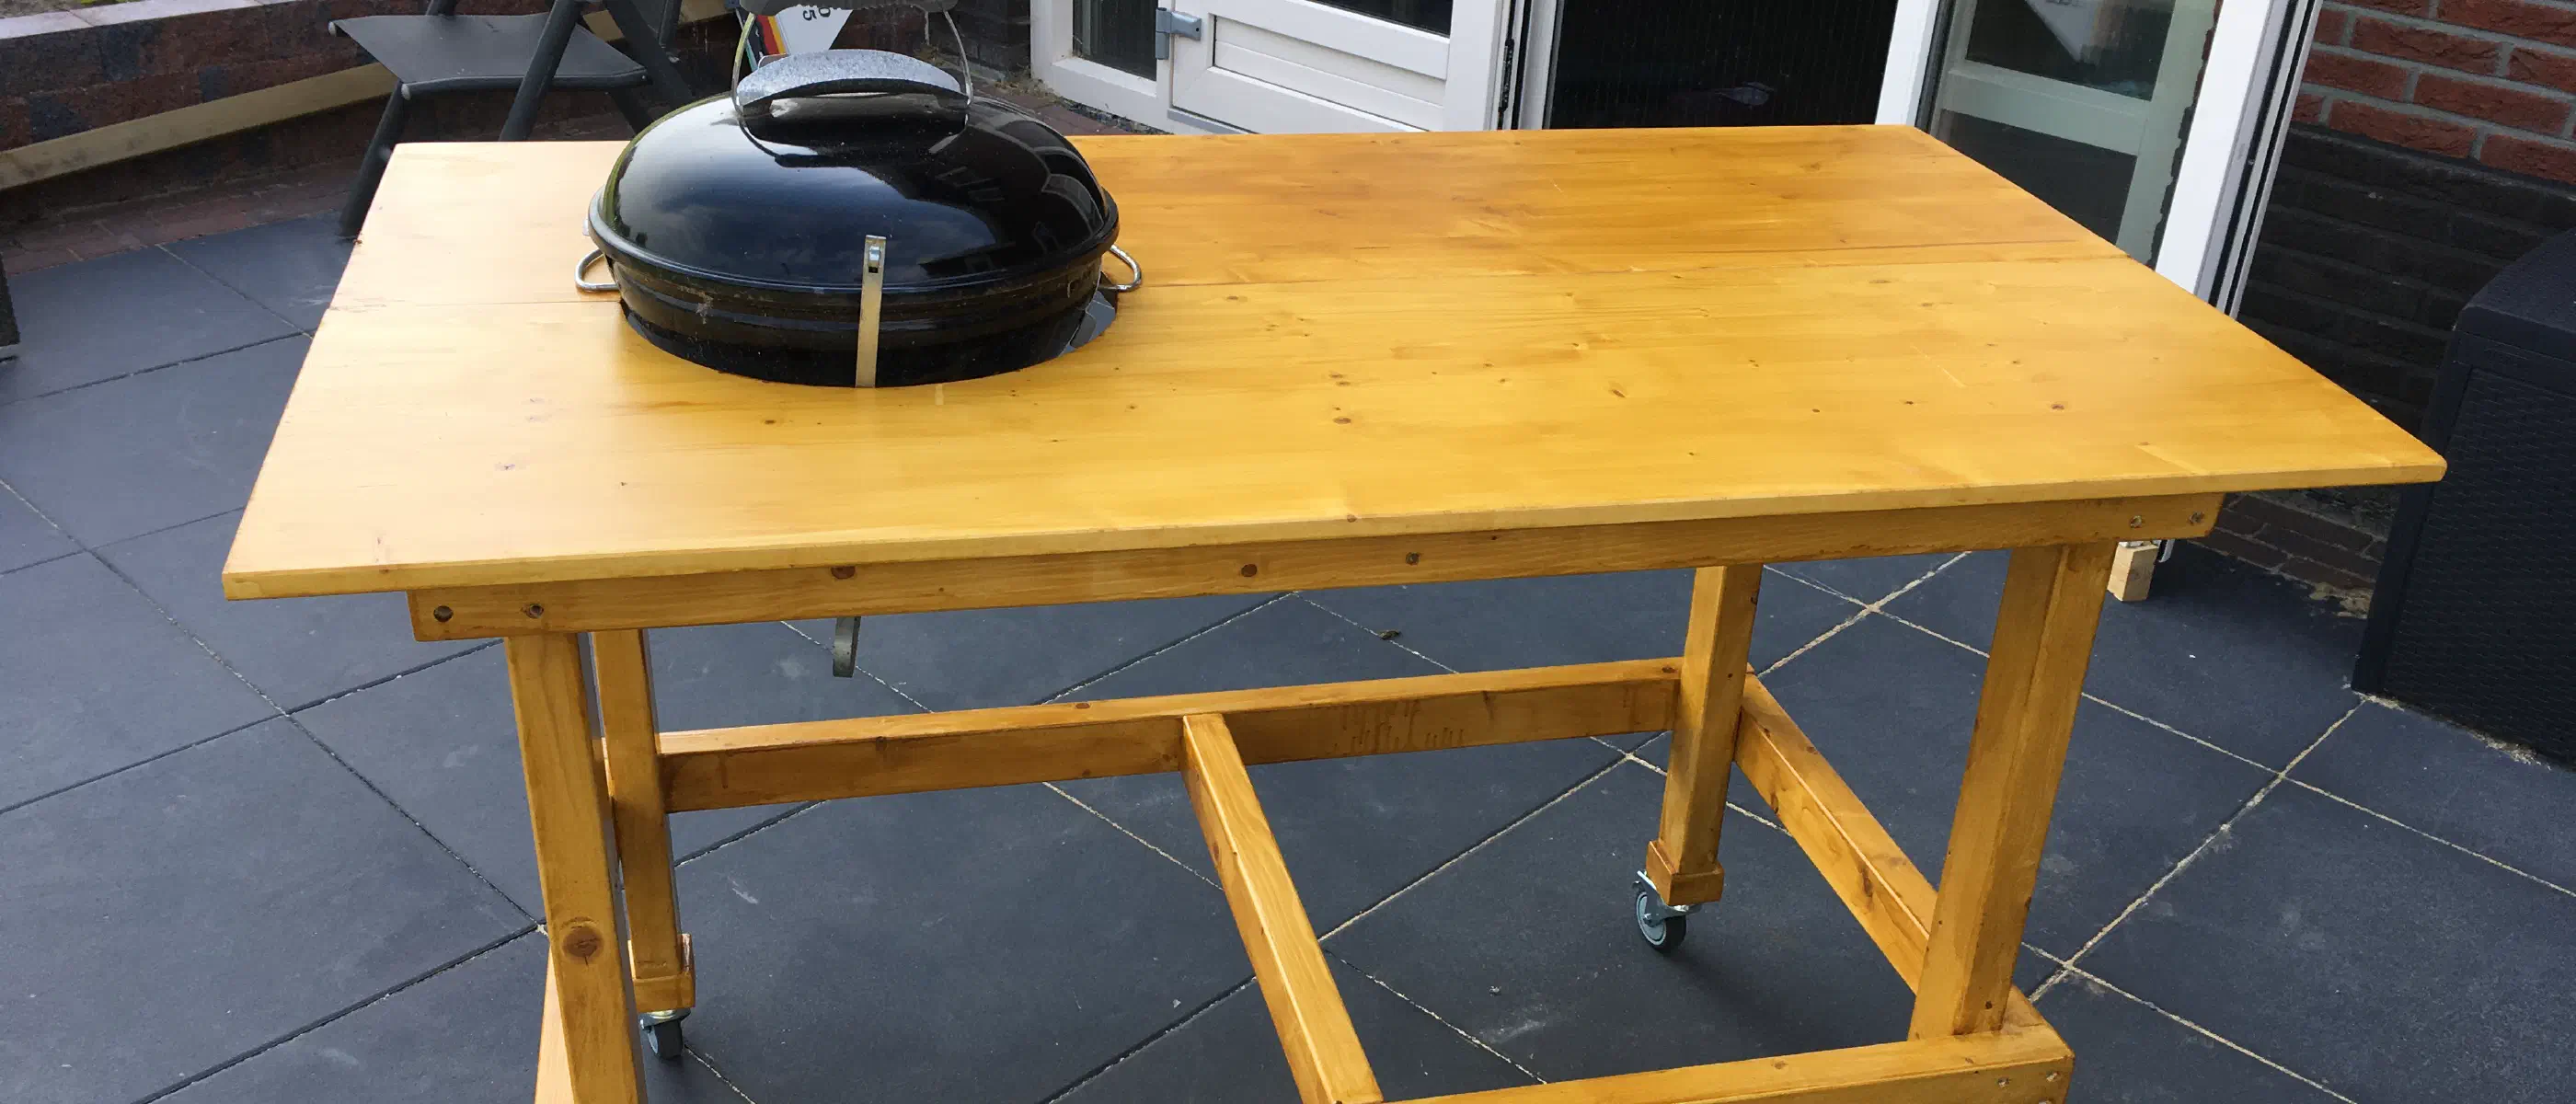
Nowadays I am working with power tools and wood. I make things that I find useful or need. Examples are door stops, a cabinet where my printer can stand and offers space for two Ikea storage boxes, and a workbench. And now also a BBQ table.
BBQ table
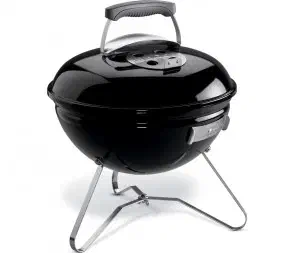
We have had a Weber Smokey Joe Original 37cm for a while now. In itself a great barbecue for the two of us, if it weren’t for the fact that it is on the ground.
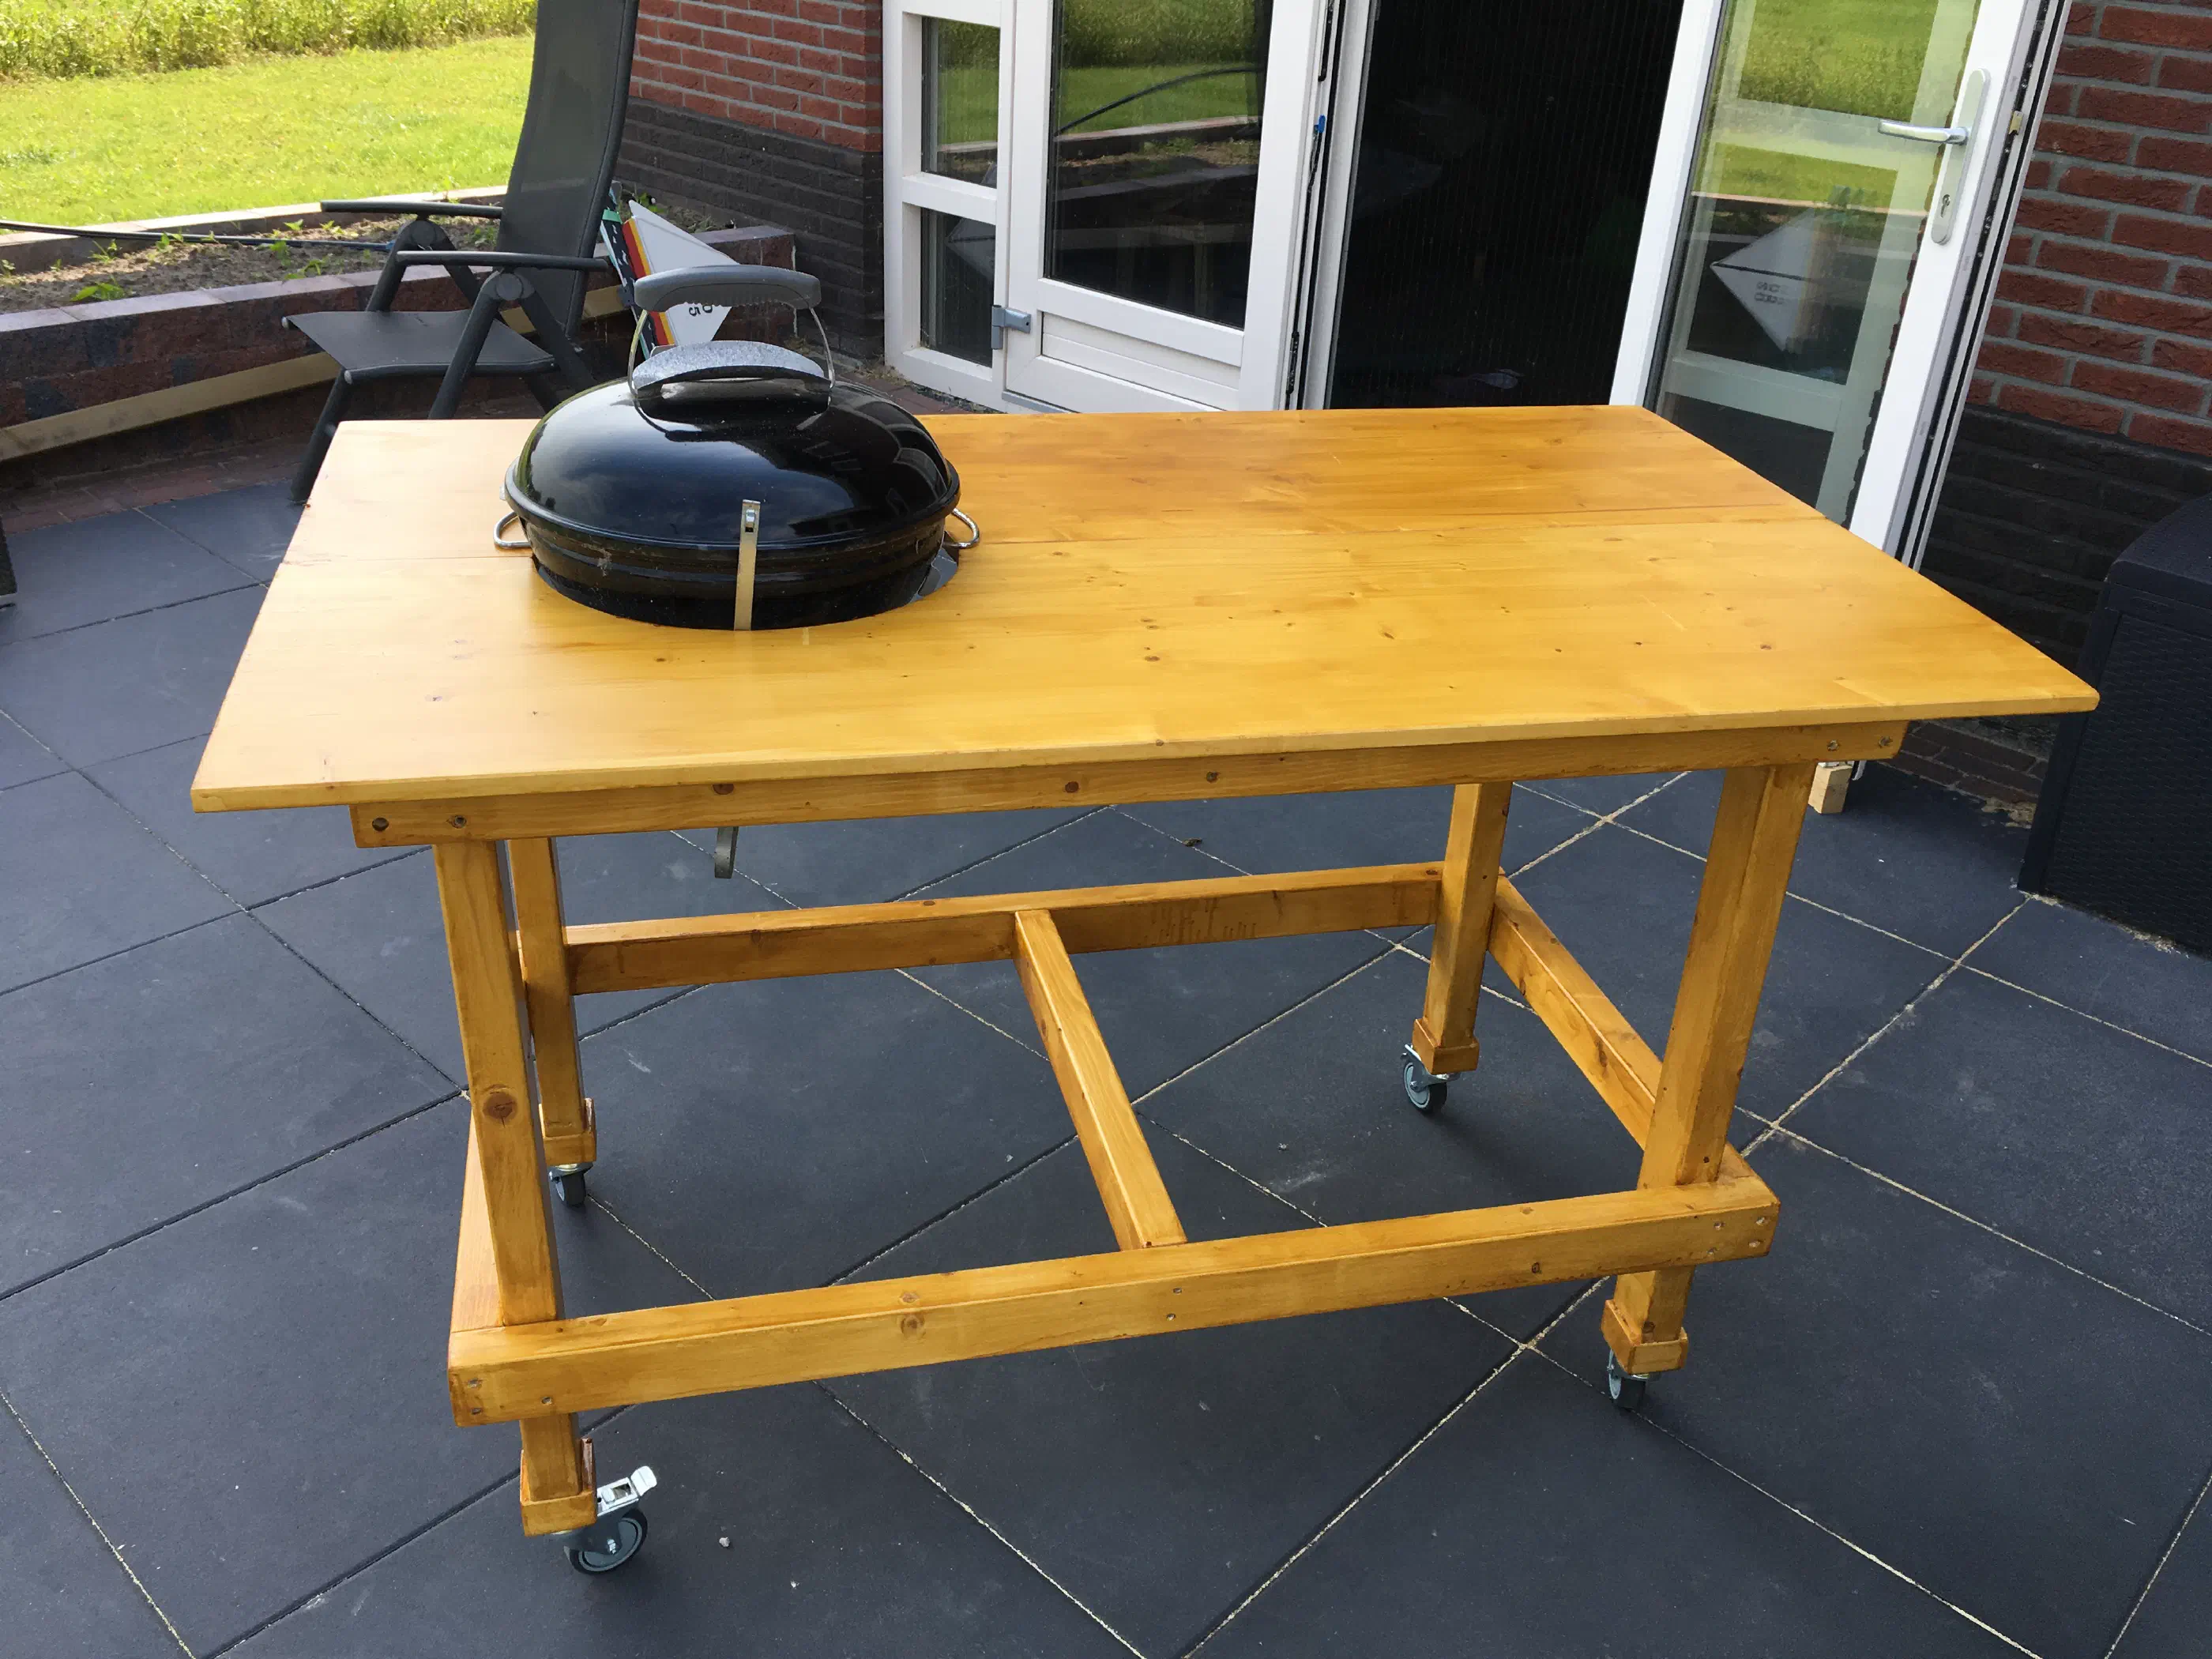
To solve that problem, I made a mobile BBQ table. This raises the BBQ to the right height and allows it to be placed anywhere where there is sun or shade.
There are several videos on YouTube on how to make your own BBQ table. I’ve seen a lot of those videos in the past week. After this I was so enthusiastic that I immediately pulled out the saw. Unfortunately, many of those films are made by Americans, with American sizes such as 2×4 and 1×2 (inch). I didn’t consciously want to look for wood in those dimensions, so I chose to come up with something myself, based on Dutch sizes.
I ended up with standard pine beams (‘planing slats’) of 44x69mm.
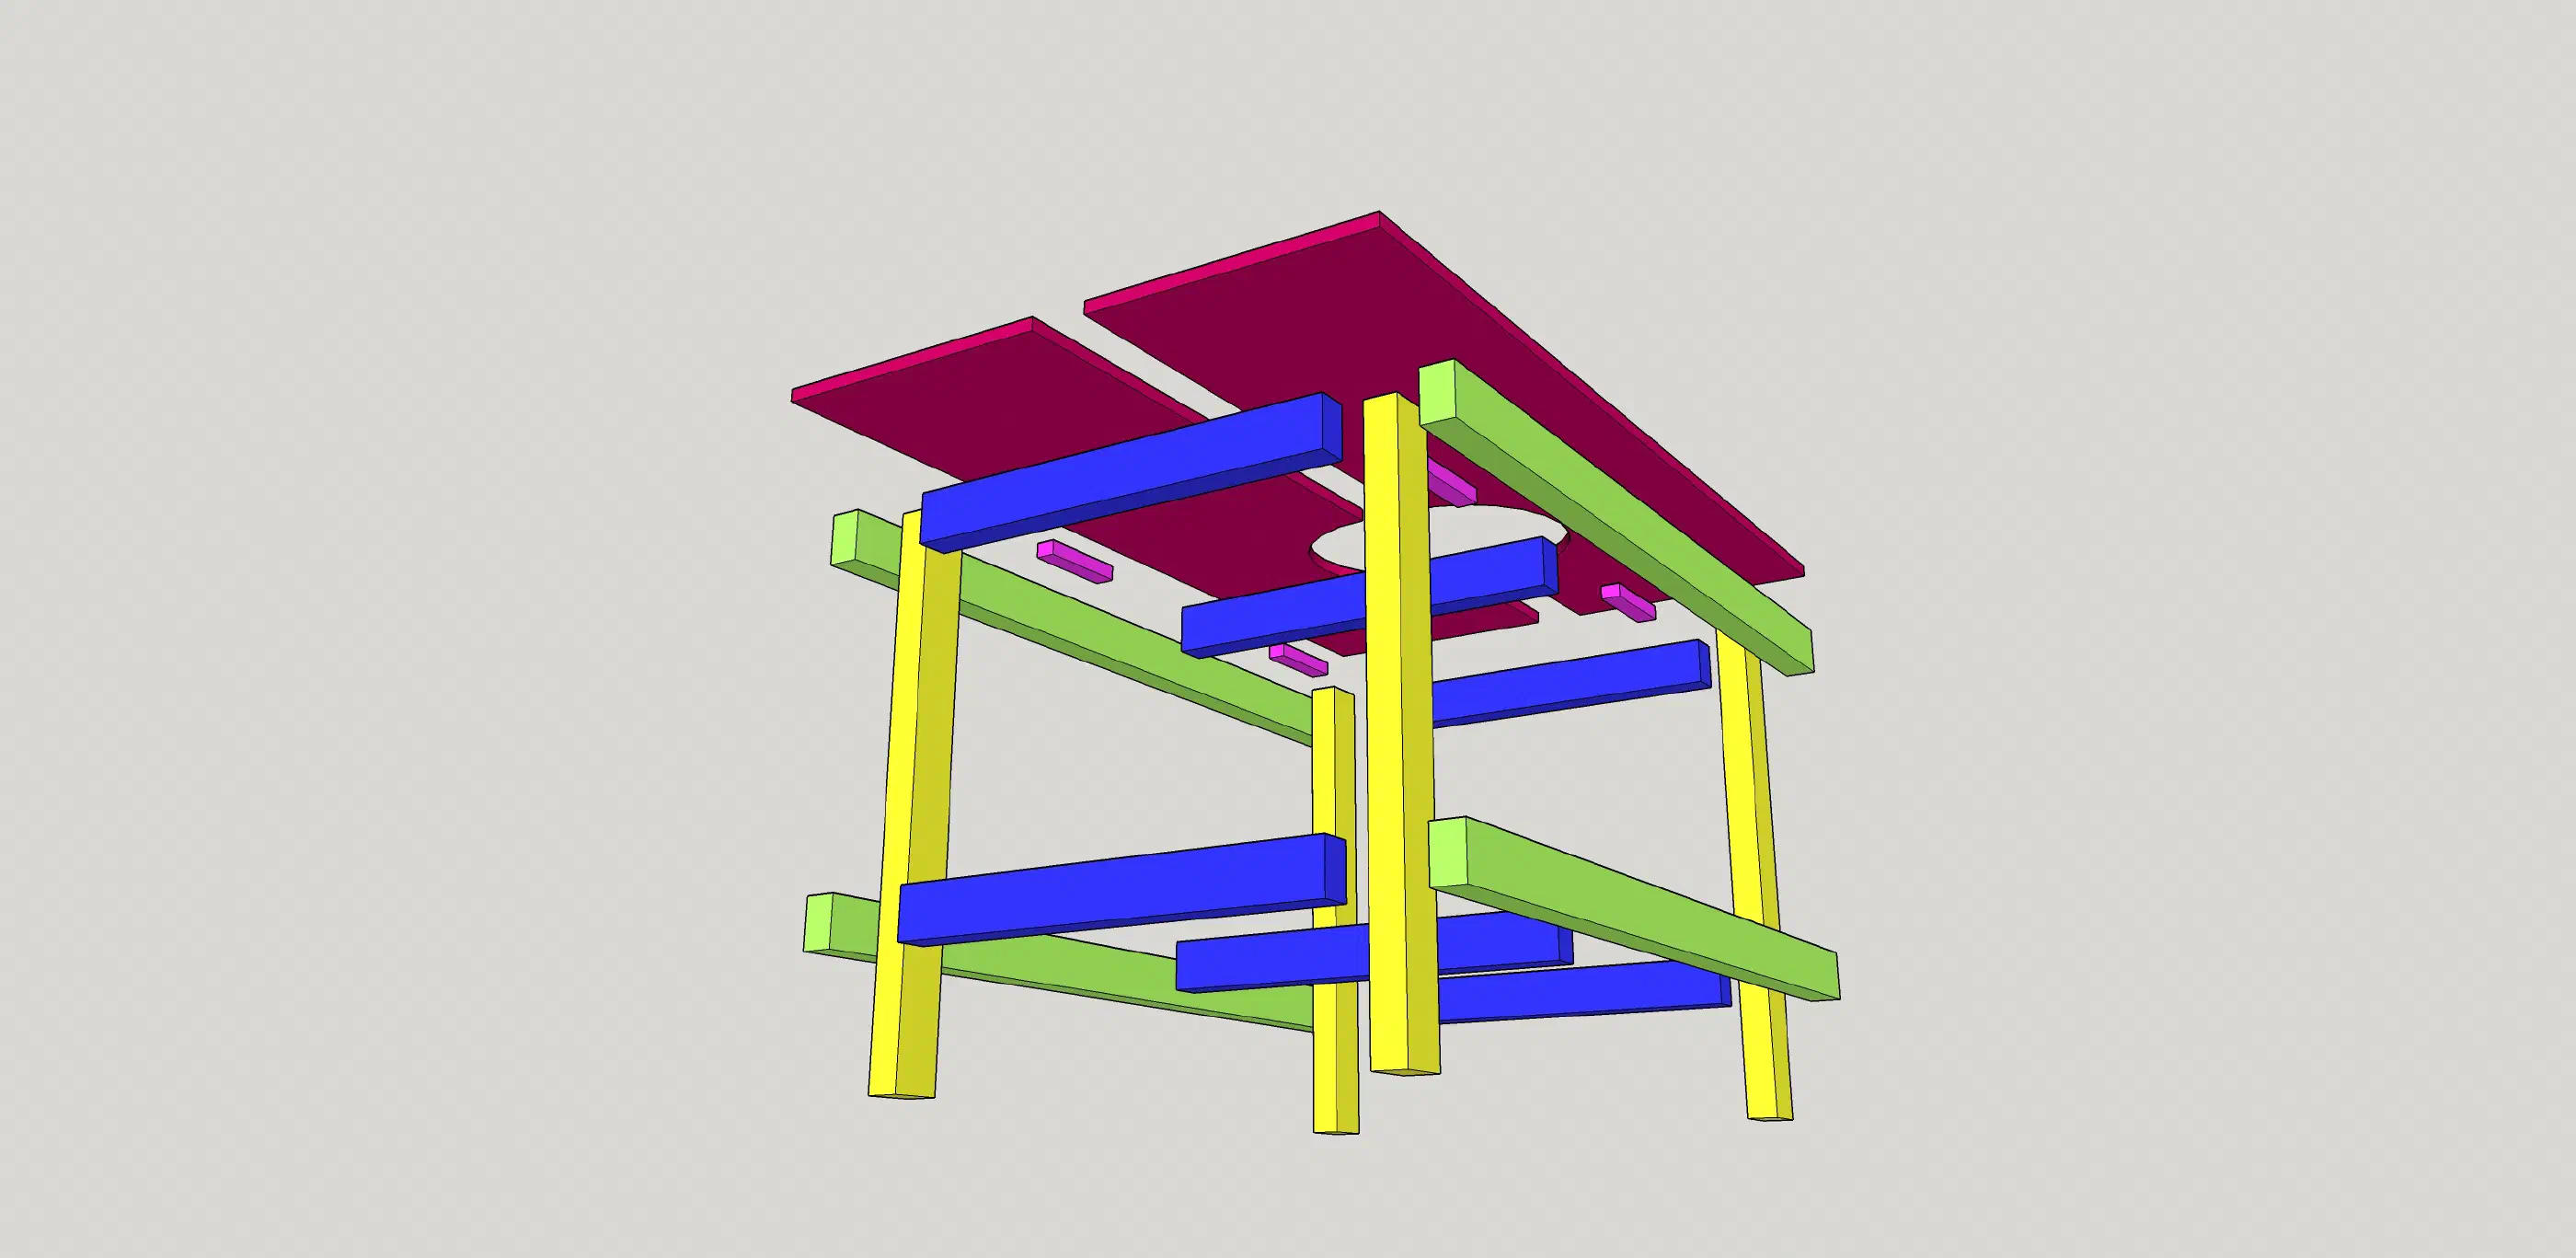
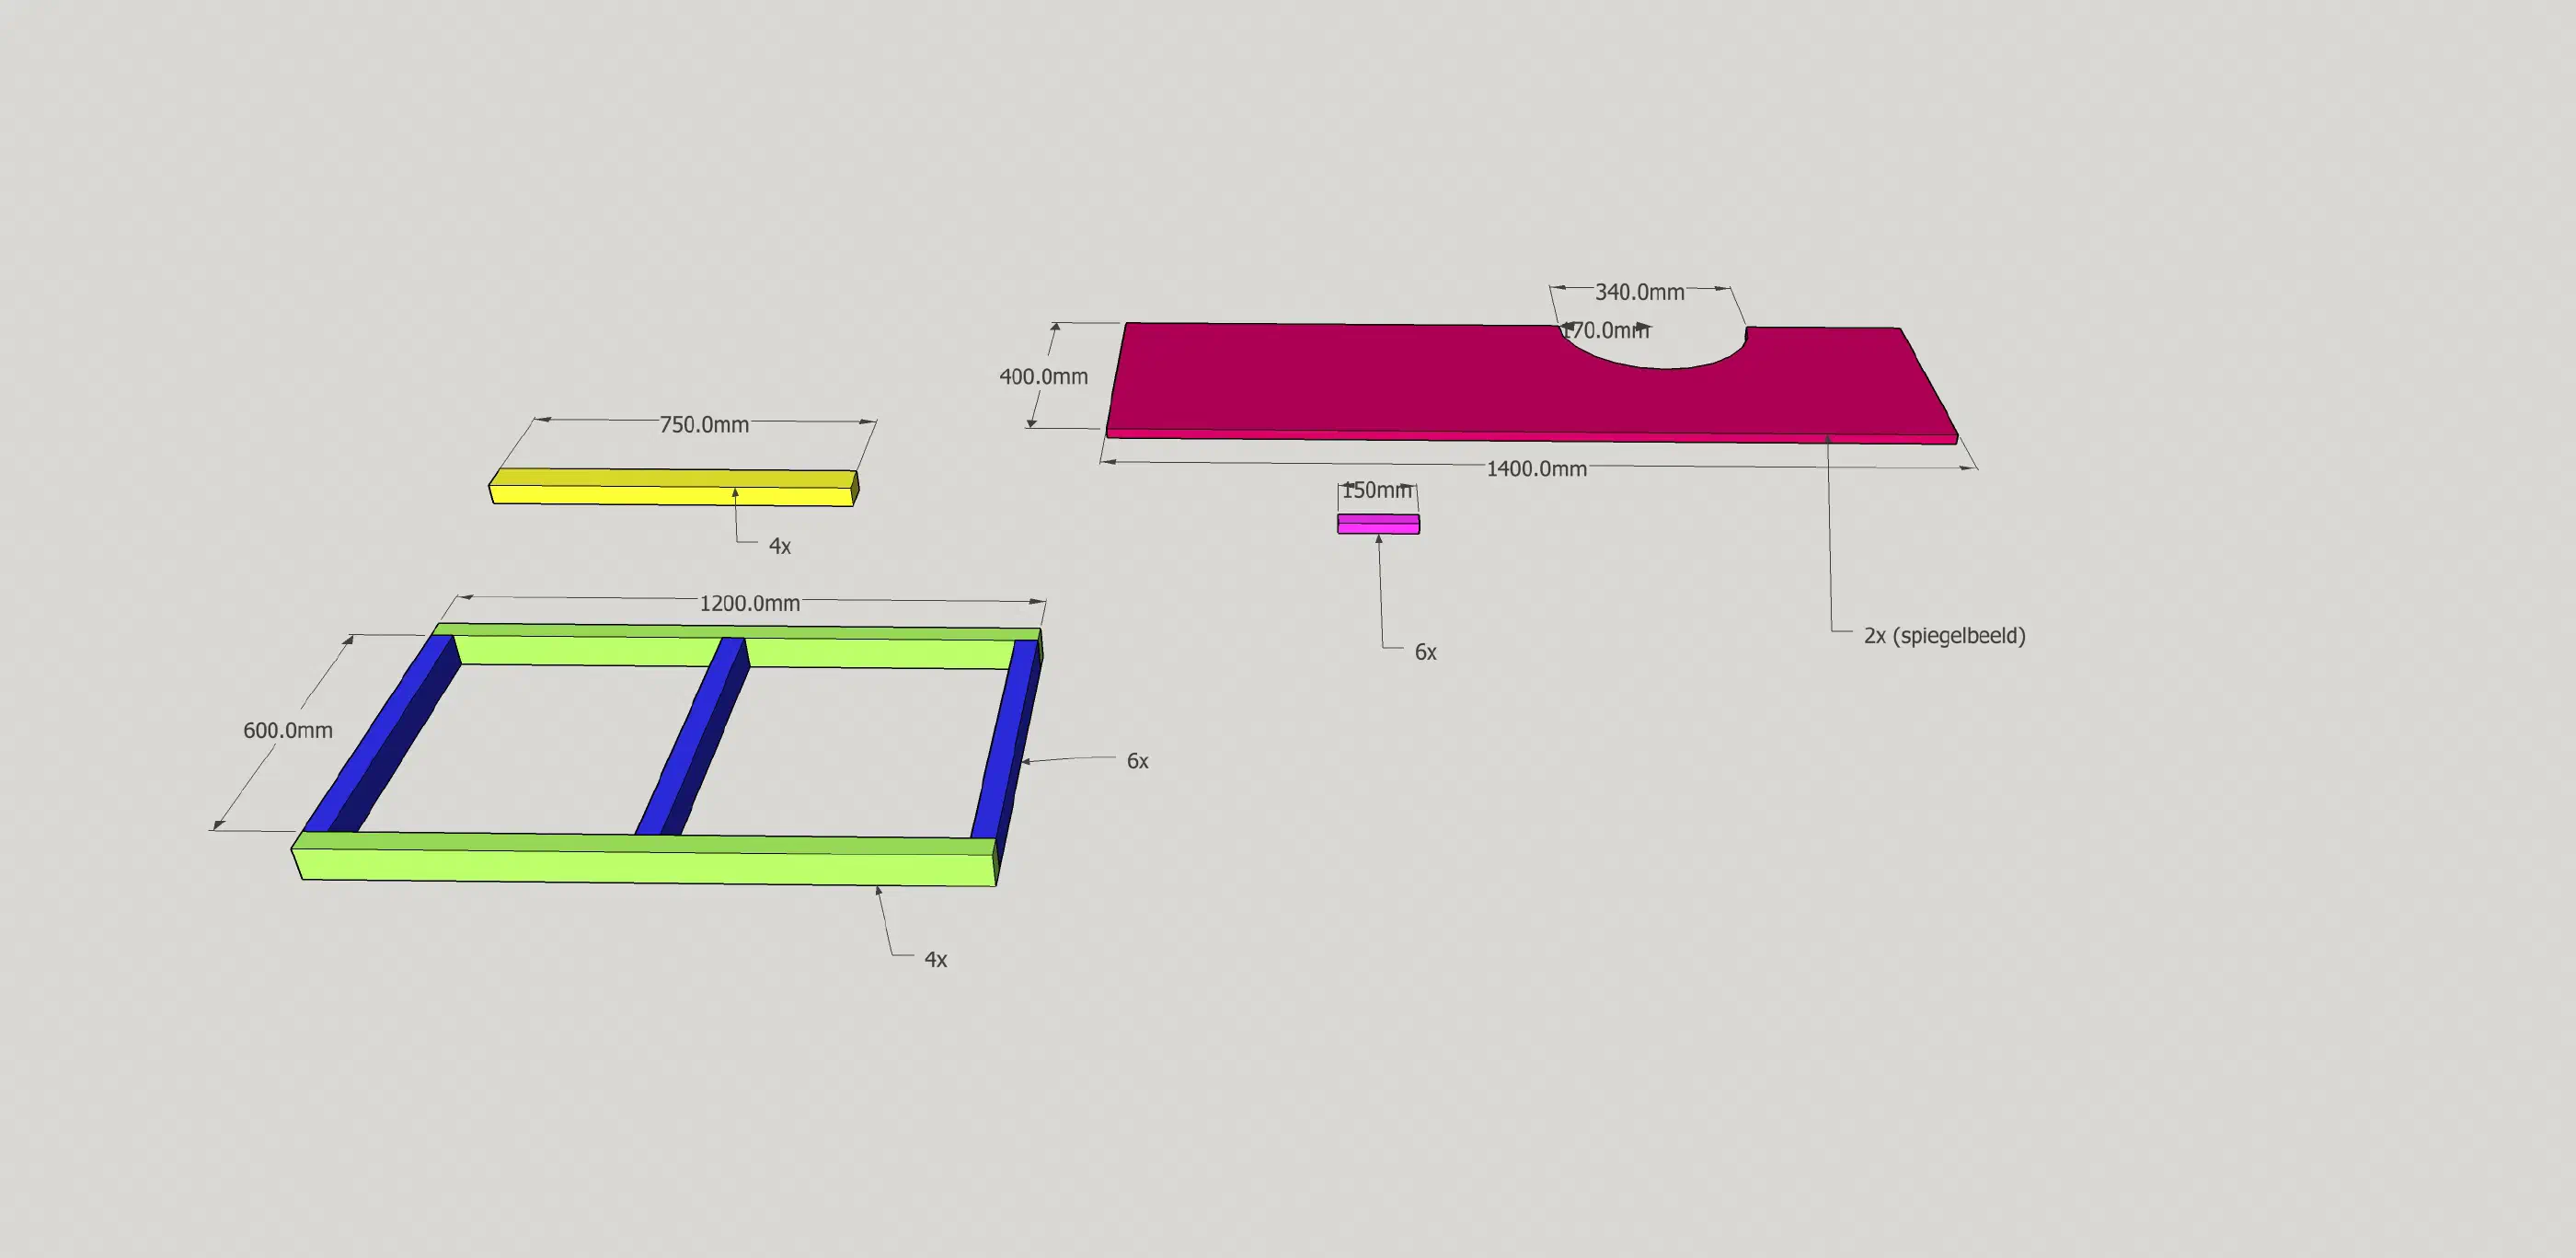
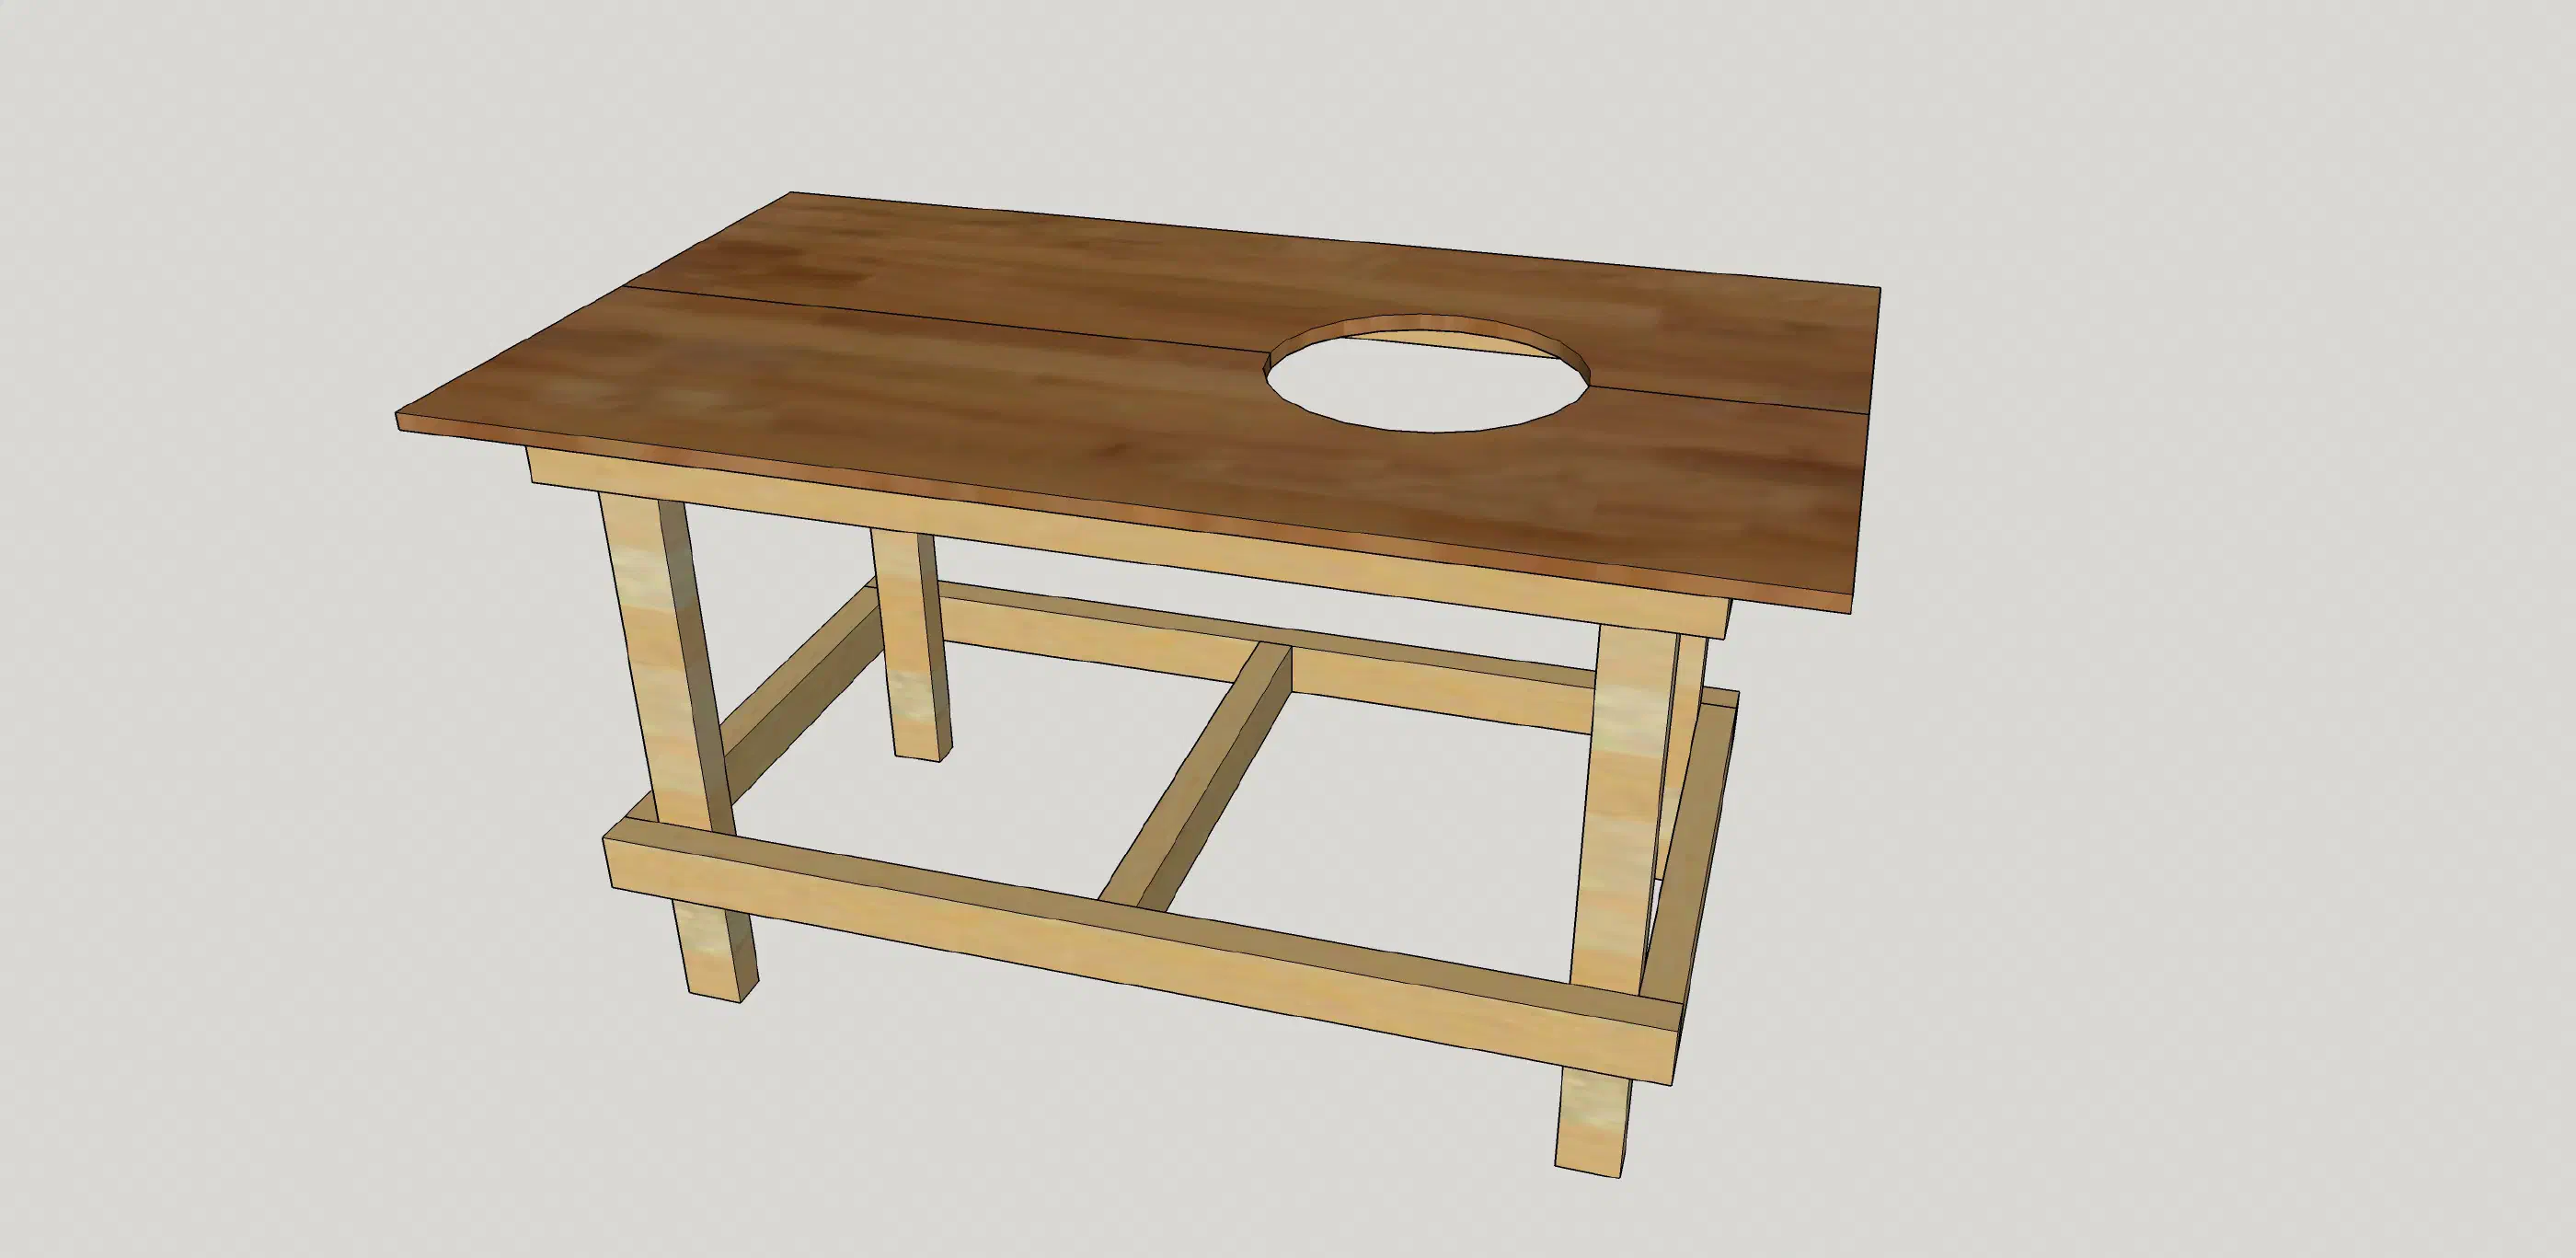
Because you undoubtedly also want such a handy BBQ cart, I made some nice pictures in Sketchup, including the dimensions. The whole is made of standard spruce, 44x69mm.

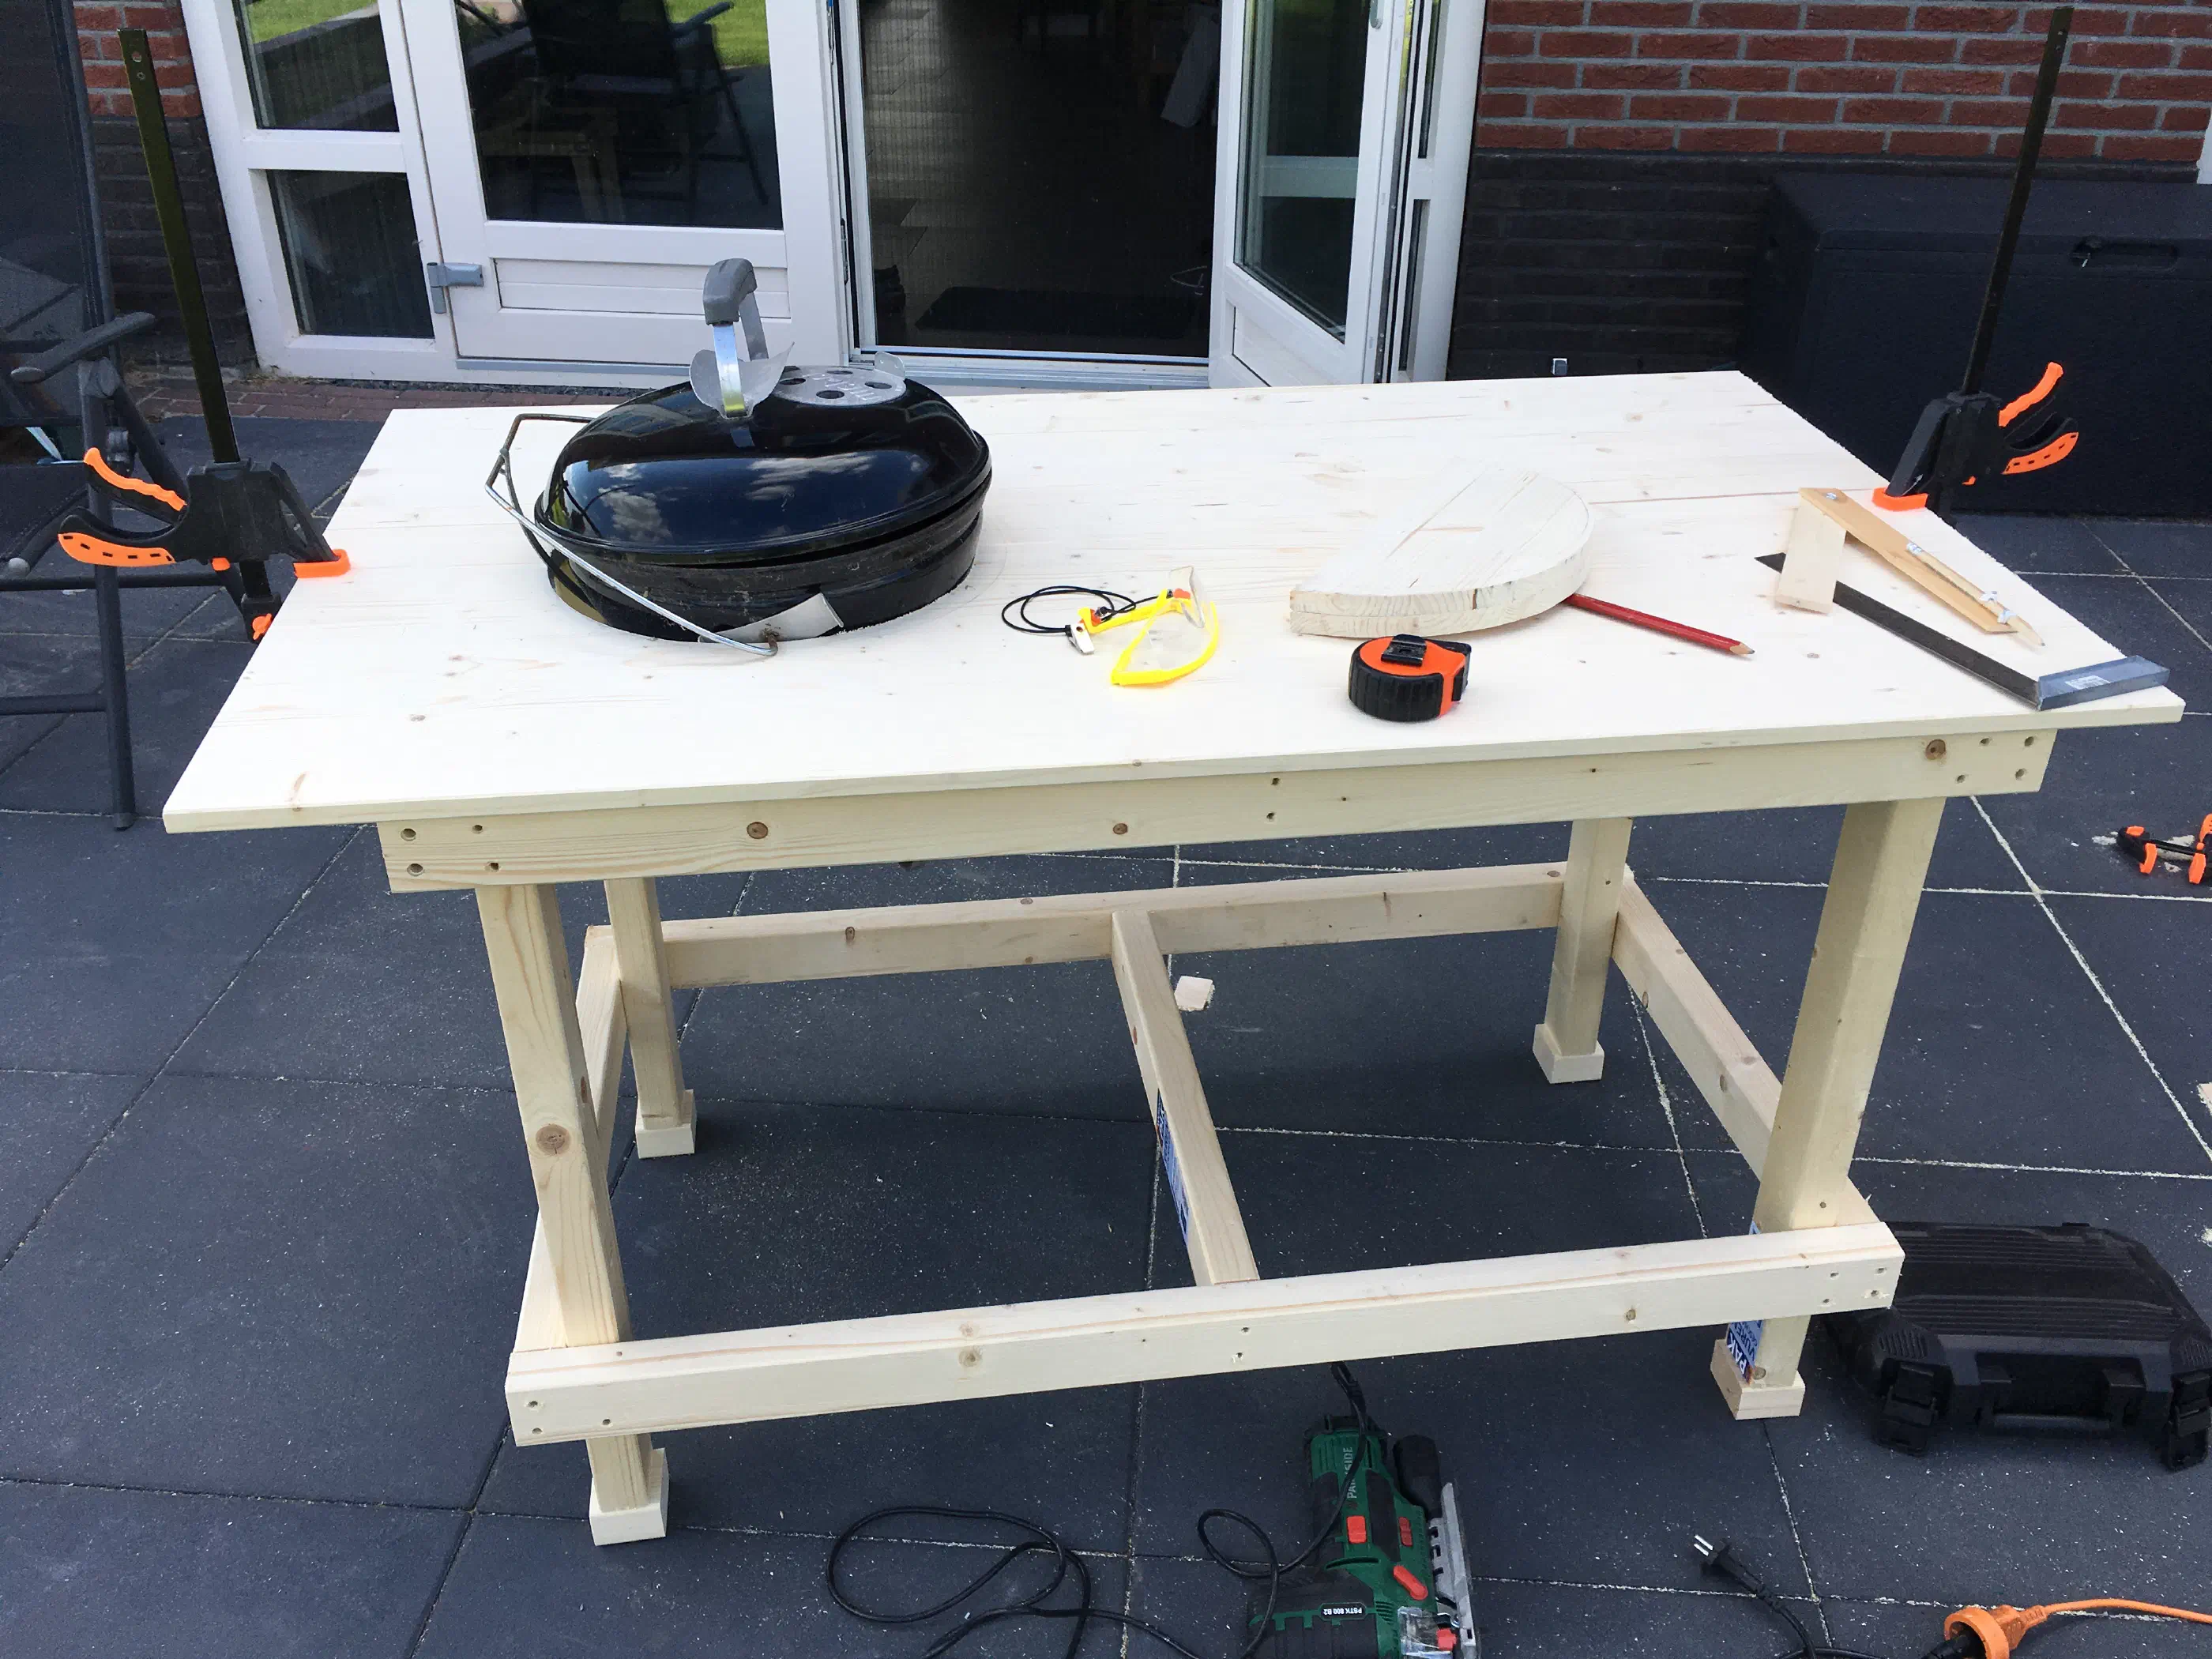
As you can see it is fairly easy to make. The circular hole in the table is sized for our BBQ. If we get another, larger BBQ, we only have to make the hole bigger.
The beams ultimately cost me 30 euros. The top was slightly more expensive, as it was a standard furniture panel (26 euros each).
I placed castors under the table. This way we can place it anywhere in the garden.
In the end, the entire table, including wheels and stain, cost me about 100 euros. I have no idea if it would have been cheaper if I had bought something existing, but this was certainly more fun to do.
The end result
I must say that I am actually satisfied with the end result. After screwing it together, I stained the table so that it is weather and wind resistant (I hope).