Place screenshots on macOS wherever YOU want
Posted on August 3, 2017 • 2 min read • 257 words
Taking screenshots on macOS is relatively easy. Without taking your hands off the keyboard, press cmd-shift-3 for the entire screen or cmd-shift-4 for part of the screen. With the latter you can select a part of the screen, after which a snapshot of that part is taken. These screenshots are placed on the desktop by default.
Personally, I don’t find that very useful. In no time my desktop is full of screenshots. I also regularly forget that they are stored there. I then have to look for where they are, since they are not in the most logical location that I feel. That’s why I find it more convenient to automatically place the screenshots in a folder under Pictures.
How to change the location for your screenshot?
There are undoubtedly graphic tools that can help you do this easily. I personally recommend doing it from a terminal screen / command line. Then you see exactly what happened. Interpretation is then another story.
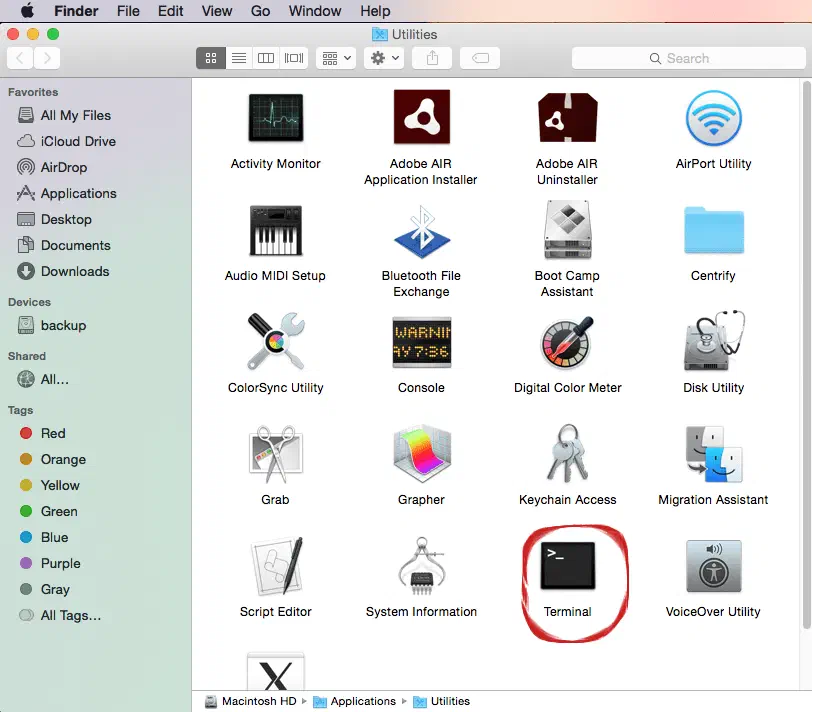
Then, if you use the default settings, you will get a black screen with white letters. Type the following here:```
bash
mkdir ~/Pictures/Screenhots
This will create a directory under your Pictures directory in your home directory. Then:
bash
defaults write com.apple.screencapture location ~/Pictures/Screenshots
This command will move the default location to Screenshots. Next, you'll need to restart the process that handles screenshots:
bash killall SystemUIServer
You should now still have a black screen open. To close this, type:```

bash
exit
```And you can continue with what you were doing, but in an organized manner.